Blog
Business Messaging
The Ultimate Guide to QuickBooks Online Invoicing

Your QuickBooks Online Invoicing Questions Answered

Getting paid starts with an invoice. But how you generate, send, and collect on that invoice is the tricky part.

Many small businesses use small business accounting software like Intuit’s QuickBooks Online (QBO) to help automate and solve these problems.

However, if you’re a QuickBooks user, you’ve most likely found that there’s some configuration required before you can send an invoice. To help, we’ve put together the ultimate guide to QuickBooks Online invoicing.

In this QuickBooks Online invoicing guide you’ll learn:

  1. How to configure QuickBooks Online invoice settings
  2. How to create a QuickBooks Online invoice
  3. How to create a QuickBooks Online invoice from an estimate
  4. Anatomy of a QuickBooks Online Invoice
  5. How to edit a QuickBooks Online invoice template
  6. How to set up Quickbooks Online payments
  7. How to send QuickBooks Online invoice reminders

Note: Check our guide to small business invoicing for general invoicing tips, tricks, and best practices. We teach you the in’s and out’s of invoicing and make suggestions that streamline your process and get you paid faster.

Suggested Article: The Ultimate Guide to Small Busines Invoicing
Add SMS Superpowers to Any Business Phone
No number porting. No switching carriers. Just add texting.
inbox team conversation

How to Configure QuickBooks Online Invoice Settings

Getting paid faster starts with configuring your invoice settings in QuickBooks Online. Your first hurdle is determining how much information you need to display on your invoices and sales forms.

Click on the Gear Icon from the Quickbooks Dashboard and view your Account and Settings. Here you’ll see all of your available invoice and sales information fields and settings.

Click Sales in Account and Settings to configure your invoice and sales form fields.

Available QuickBooks Online invoice fields include:

  • Invoicing terms and conditions (Sets default terms to “Net 30” or payment due by default in 30 days from invoice creation)
  • Invoice delivery method (email or hard copy print)
  • Shipping (adds shipping fields to invoices and sales forms)
  • Custom fields (you get three fields for internal or public custom information)
  • Custom transaction numbers (allows you to view and change transaction numbers)
  • Service date (adds a service date field)
  • Discount (Adds a discount field to invoices and sales forms)
  • Deposit (Adds a deposit field to invoices and sales forms)
  • Tips/Gratuity (Adds tips and gratuity to invoices and sales forms)

Click the Pencil Icon to the right, to edit any or all of this information. When you’re done, don’t forget to click Save.

Note: QuickBooks Online only offers you three custom fields for invoices and sales forms. Check out our article on how to use QuickBooks Online custom fields for ways to store additional contact information.

Additional QuickBooks Online Sales Settings

  • Invoice payments (set your credit card and ACH settings)
  • Products and services (display a product/service column, SKUs, price rules, quantity, price, rate, and inventory)
  • Late fees (set the default charge when an in an invoice is X days overdue)
  • Progress invoicing (create multiple partial invoices from a single statement)
  • Messages (set the default email message sent with sales forms
  • Reminders (set automatic and default email message for invoice reminders)
  • Online delivery (email options for all sales forms e.g. including a PDF attachment)
  • Statements (shows aging table at bottom of the statement)

How to Create a QuickBooks Online Invoice

There are two ways to create an invoice in QuickBooks Online.

  1. Create a new invoice from scratch.
  2. Create and convert an estimate into an invoice.

Quick Start: How to Create a New QuickBooks Online Invoice

  1. Click + New and Invoice to create a new invoice.
  2. Select a customer.
  3. Enter customer email (if not already entered).
  4. Enter all necessary information for Product/Service, Description, QTY, Rate, Amount, and Tax.
  5. Enter an invoice message.
  6. Click Save and send.
  7. Quickbooks emails your invoice.

1. Click + New and click Invoice to create a new invoice.

new-invoice-quickbooks-online.png

2. Select a customer.

new-quickbooks-online-customer.png

3. Enter customer email (if not already entered).

4. Enter all necessary information for Product/Service, Description, QTY, Rate, Amount, and Tax.

5. Enter an invoice message.

6. Click Save and send.

7. QuickBooks emails your invoice.

completed-quickbooks-online-invoice.png

How to Create an Invoice from an Estimate

You can convert any estimate you’ve already created into an invoice. You can also choose to convert a portion of the estimate or the entire thing into an invoice. This is useful for progress billing on larger jobs.

Quick Start: Convert an Estimate into an Invoice

  1. Hover over Sales and click Customers to find an existing estimate.
  2. Scroll and select a customer with an existing estimate.
  3. Click Estimate to open the estimate.
  4. Click Create invoice to convert the estimate into an invoice.
  5. Select how much of the estimate you want to invoice for.
  6. Click Create invoice.

1. Hover over Sales and click Customers to find an existing estimate.

sales-customers-quickbooks-online.png

2. Scroll and select a customer with an existing estimate.

3. Click Estimate to open the estimate.

quickbooks-customer-estimate.png

4. Click Create invoice to convert the estimate into an invoice.

convert-estimate-to-invoice.png

5. Select how much of the estimate you want to invoice for.

6. Click Create invoice.

Note: The invoice status must be either Pending or Accepted for the Create invoice button to be available.

Anatomy of a Quickbooks Online Invoice

You can set the exact fields that display on your invoices in Account and Settings (see above). You can also edit them in-line by clicking the Gear icon. The following are the most commonly used fields on an invoice:

anatomy-quickbooks-online-invoice.png
  1. Invoice number: Each invoice number is unique. You’ll find this at the top of the invoice when creating a new invoice.
  2. Customer: This is the customer, business, or organization who will receive the invoice. To add a new customer, click Add new from the customer drop-down box and provide the necessary customer information. Selecting a customer will auto-fill the form fields for email, billing, shipping addresses, terms, and location.
  3. Customer email: The email of the customer or organization you are sending the invoice to.
  4. Billing address: The customer’s known billing address.
  5. Invoice terms: Net 30 will automatically set the invoice due date 30 days from when the invoice is created.
  6. Invoice date: The date you are sending this invoice. Depending on your settings and configuration (Net 30) this will automatically set the invoice due date.
  7. Due date: This is the day the invoice payment is due.
  8. Custom fields: These are editable fields that display any special information on an invoice.
  9. Service date: The date that the service was performed.
  10. Product/Service: The product or service that you provided. This is pulled from your own predefined list of products and services in QuickBooks Online. For new Products/Services, choose Add new and enter all needed information. Fields for description, rate, tax, and class will populate automatically once you select a product or service.
  11. Description: A description of the product or service rendered.
  12. QTY (Quantity): The quantity of each product or service sold. Entering the quantity will automatically the amount as quantity times rate.
  13. Rate: The going-rate per product or service.
  14. Amount: The total amount for the given invoice line item.
  15. Tax: The tax rate per product or service. Entering the tax rate will automatically calculate as rate times amount.
  16. Balance Due: Balance due shows the portion of the total amount that is currently due for this product or service. This should be the full amount unless this is a partial invoice. This field gets calculated automatically when you convert an invoice from an estimate. You can also input this field when creating an invoice.
  17. Message on invoice: This is a short message your invoice recipient will see when receiving the invoice.
  18. Message on statement: statements to customers will display on an invoice.
  19. Attachments: Any additional attachments (.jpeg, pdf. etc.) related to the sale or service.

(Pro-tip) How to edit invoice form fields and settings from an invoice

Click the Gear Icon in the upper right-hand corner of an invoice to edit your invoice and sales form settings directly in-line. This is a quick way to see how changes in settings will alter your invoice.

How to Edit QuickBooks Online Invoice Templates

Once you’ve set all of the available fields for an invoice, you’ll also want to edit its visual design. QuickBooks gives you fairly robust template editing features, for invoices, estimates, and sales receipts. But you’re still limited to a range of template styles, fonts, and colors - though you can use a font generator such as Quicktools to create custom fonts to use in your invoices.

Suggested Article: Learn how to fully customize QuickBooks Online invoice templates and estimates

Quick Start: How to Edit QuickBooks Online Invoice Templates

  1. Click the Gear Icon and go to Custom Form Styles.
  2. Here you’ll see a list of all Invoices, Estimates, and Sales Receipts.
  3. Click on an existing form to edit or click New style to create a new form.
  4. Use the QuickBooks Online form builder to edit the design of your invoice.
  5. Use the Design tab to apply templates, change your logo, fonts, and color scheme.
  6. Use the Content tab to edit fields as they will appear to invoice recipients.
  7. Use the Emails tab to edit the email that all invoice recipients will see.

1. Click the Gear Icon and go to Custom Form Styles.

2. Here you’ll see a list of all Invoices, Estimates, and Sales Receipts.

custom-form-styles.png

3. Click on an existing form to edit it or click New style to create a new form.

4. Use the QuickBooks Online form builder to edit the design of your invoice.

5. Use the Design tab to apply templates, change your logo, fonts, and color scheme.

edit-quickbooks-online-invoice.png

6. Use the Content tab to edit fields as they will appear to invoice recipients.

edit-invoice-design-tab.png

7. Use the Emails tab to edit the email template that all invoice recipients will see.

edit-invoice-emails-tab.png

How to Set Up Quickbooks Online Payments

Creating and sending your invoice is the first half of the battle. The second half is setting up a payment process. The good news is you can configure QuickBooks to receive payments. This automated process gives invoice recipients a way to pay and closes their invoices once the transaction is complete.

Suggested Article: Top 4 QuickBooks Payments Alternatives

Quick Start: How to Accept Payments in QuickBooks Online

  1. Click the Gear icon and select Account and Settings.
  2. Click Payments and then the Learn more button.
  3. Click Set up payments to get started.
  4. Enter your business information.
  5. Enter your business owner information.
  6. Select a bank account.
  7. Get paid straight from your invoice with a Pay Now button.

1. Click the Gear icon and select Account and Settings.

2. Click Payments and then the Learn more button.

payments-learn-more.png

3. Set up payments to get started.

setup-payments.png

4. Enter your business information.

Enter information about your business including the bank account where you want your customers’ payments to be deposited.

enter-business-info.png

5. Enter your business owner information.

business-owner-info.png

6. Select a bank account.

Select which bank account in QuickBooks you want to use to record deposits.

enter-payment-information.png

7. The recipient makes their QuickBooks Online invoice payment immediately with a Pay Now button.

QuickBooks Payments Fees

There are fees for payments in QuickBooks Online. Below is the payment schedule for payments processed using QuickBooks Payments with QuickBooks Online.

Payment Entry MethodQuickBooks Payments FeeACH bank transfer1% (max $10)Card (Swiped)2.4% + 25¢Card (Invoiced)2.9% + 25¢Card (Keyed)3.4% + 25¢

How To Send QuickBooks Online Invoice Reminders

When an invoice goes unpaid, you’ll want to follow up with an overdue invoice reminder email. You can send QuickBooks Online invoice reminders in a batch or individually.

Quick Start: How to Email a QuickBooks Online Invoice

  1. Click Sales and select Invoices.
  2. Select a single or multiple invoices.
  3. Click Batch actions.
  4. Click Send to send the invoice.
  5. Click Send reminder to send an invoice payment reminder email with a copy of the invoice.
  6. A message dialog will appear, allowing you to customize your message before emailing the customer.

Note: Click on Receive payment, and select Send or Send reminder to send an individual or reminder from QuickBooks Online.

1. Click Sales and select Invoices.

dashboard-sales-invoices.png

2. Select a single or multiple invoices.

quickbooks-online-invoices.png

3. Click Batch actions.

4. Click Send to send the invoice.

5. Click Send reminder to send an invoice reminder email.

quickbooks-online-invoices-batch-actions.png

6. A message dialog will appear, allowing you to customize your message before emailing the customer.

invoice-message-dialog.png

Text Invoice Reminders - Get Paid Faster: How MessageDesk Improves Your QuickBooks Online Invoicing Workflow

Getting paid isn't easy. When an email invoice reminder doesn't cut it, you need a new way to reach your customers.

Text messaging is one of the most widely adopted, convenient, and preferred ways to remind people to pay their bills.

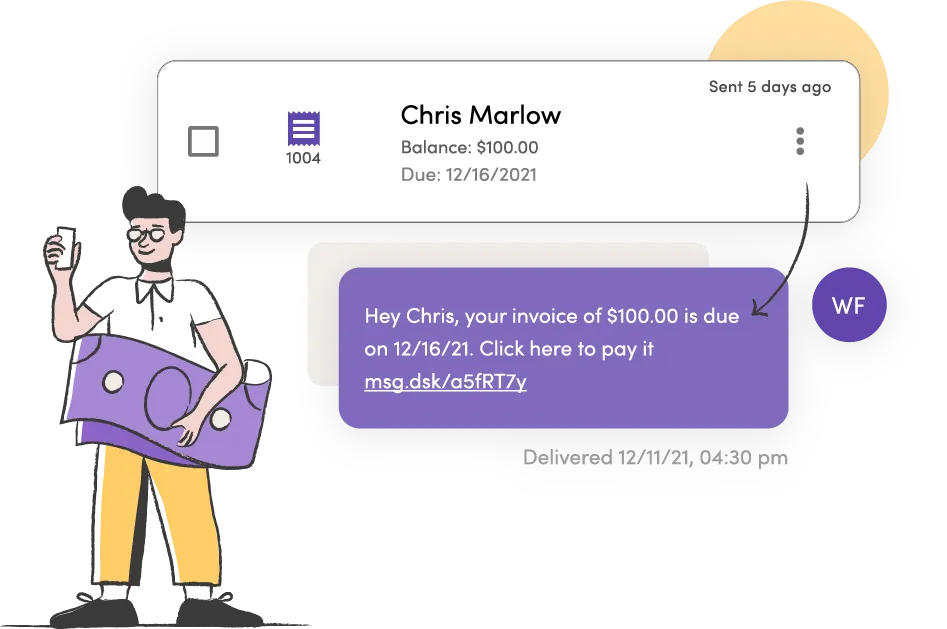
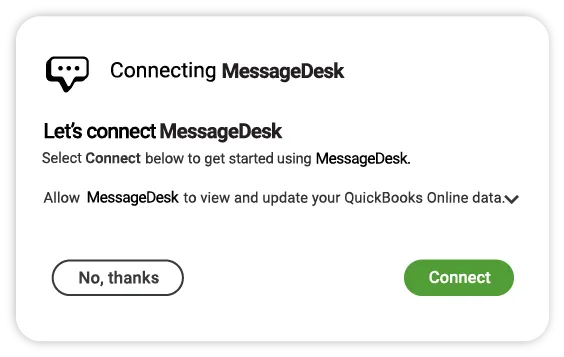
MessageDesk's integration syncs QuickBooks Online customers and invoices. It automatically pulls in and updates and this information while making it easy to text payment reminders.

Bottom line: MessageDesk makes it easier to manage all of your QuickBooks customer info. You can also [text customers (https://messagedesk.com/features/business-texting-services/) and even send invoice reminders.

Add SMS Superpowers to Any Business Phone
No number porting. No switching carriers. Just add texting.
inbox team conversation
MessageDesk Newsletter
Join the 20,000+ people who get business communications tips in their inbox every two weeks.